

Capturing the 2025 Perseid Meteor Shower
The Perseid meteor shower is peaking this week, offering one of the best celestial shows of the year—despite the challenge of a bright moon. For the best view, head to a dark location far from city lights, give your eyes time to adjust, and be patient. Photographers should use a wide-angle lens, an aperture of f/2.8 or lower, ISO 1600–3200, and exposure times between 10–20 seconds to capture those fleeting streaks of light.

Photography as Therapy – Connecting with Nature Through the Lens
Photography as therapy offers a unique way to connect with nature and restore balance in our lives. Through the lens, we can immerse ourselves in the present moment, appreciating the beauty of landscapes, wildlife, and the natural world around us. Whether capturing a serene mountain view or the intricate details of a bird in flight, landscape, nature, and wildlife photography provide more than just images—they offer moments of mindfulness, healing, and personal reflection. Discover how photography can be a tool for peace, emotional release, and deeper connection with the world.

The Importance of Social Media for Photographers
In today's digital world, social media is a game-changer for photographers. Whether you're a wedding photographer looking for new clients or a landscape photographer seeking brand collaborations, platforms like Instagram and TikTok offer incredible opportunities for exposure and engagement. But with great potential comes challenges—algorithm changes, content saturation, and time demands. In this blog, we explore the pros and cons of social media for photographers and share tailored strategies to help you stand out in your niche.

The Rise of AI in Photography: A Game-Changer or a Threat to Authenticity?
Photography has always been an art form that balances technical expertise and creative vision. But in recent years, artificial intelligence (AI) has emerged as a powerful tool that is reshaping the landscape of this medium. From editing software powered by machine learning to the generation of hyper-realistic images that never existed in real life, AI is challenging the very definition of photography.

Master Wildlife Photography: Tips and Tricks for Capturing Nature’s Best Moments
Wildlife photography is an exhilarating pursuit that combines patience, skill, and the thrill of the unexpected. Whether you’re photographing a majestic eagle in flight, a deer grazing at sunrise, or a squirrel darting through the trees, knowing how to optimize your camera settings and preparation can make all the difference. Below, we’ll share practical tips and tricks to help you capture those once-in-a-lifetime wildlife shots.

Understanding Shutter Speed: How It Transforms Your Photography
When you pick up a camera, one of the first things to learn is how to control shutter speed, an essential component of exposure. Shutter speed can dramatically influence the way your photos turn out, adding an artistic flair or capturing moments that would otherwise blur into obscurity. Whether you’re freezing the action of a speeding car or painting with light in long-exposure shots, mastering shutter speed unlocks endless creative possibilities.

Capturing the Magic: Tips and Tricks for Sunrise Photography
There’s something uniquely magical about watching the world wake up. The soft glow of dawn, the ever-changing colors, and the peaceful stillness make sunrise photography one of my favorite pursuits. But capturing that magic in a photograph can be challenging. Today, I’ll share some of my top tips and tricks to help you make the most of your sunrise shoots and create images that truly reflect the beauty of the moment.

Unlock the Beauty of the Cosmos: Tips and Tricks for Night Sky Photography
Capturing the stunning beauty of the night sky is a magical experience that every photographer should try at least once. The stars, planets, and sweeping arc of the Milky Way can produce breathtaking images, but night sky photography comes with its challenges. With a few tried-and-true techniques, you can transform your nighttime photos into works of art. Here’s a guide from Scott Turnmeyer Fine Art Photography to help you master the art of astrophotography.

Shooting Photos in RAW vs JPEG: What You Need to Know
When it comes to photography, one of the most important decisions you’ll make is choosing between shooting in RAW or JPEG. Each format has its own advantages and disadvantages, and understanding these can help you make the best choice for your photography needs. In this post, we’ll explore the key differences between RAW and JPEG, and provide insights into when and why you might choose one over the other.

Catching Great Photographs of the Moon
Capturing the beauty of the moon in a photograph is a rewarding challenge for any photographer. The details, textures, and colors of the moon can add depth and mood to any image, but getting the shot just right can be tricky. Here are some practical tips to help you snap those stunning lunar photos you’ve always wanted.

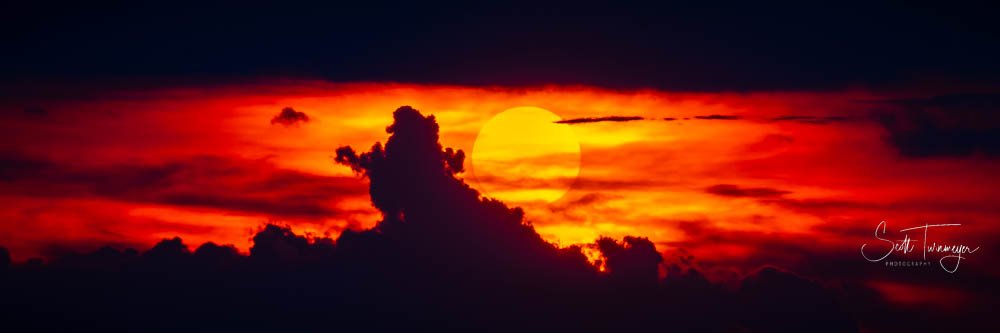
Tips for Stunning Sunset Photography
Capturing the breathtaking beauty of a sunset can be one of the most rewarding experiences for photographers. The vibrant colors and dramatic lighting create a perfect canvas for stunning images. If you’re ready to take your sunset photography to the next level using a DSLR and tripod on manual settings, here are some essential tips to help you achieve spectacular results.

Mastering Waterfall Photography with Your DSLR: Tips for Stunning Shots
There's something truly magical about capturing the beauty of a waterfall. The rush of water cascading down rocks, the mist rising in the air, and the peaceful atmosphere all create the perfect photography subject. However, taking a great waterfall photo with your DSLR isn’t just about pointing and shooting. It requires a bit of technique and creativity to achieve that silky, flowing water effect while maintaining crisp details in the surroundings.

Mastering Depth of Field in Photography: A Comprehensive Guide
Depth of field (DOF) is one of the most essential concepts in photography, playing a pivotal role in how images are perceived. Understanding and controlling depth of field can elevate your photography from ordinary to extraordinary, allowing you to create images that capture attention, evoke emotions, and tell a story.

Understanding Aperture in Digital Photography
Welcome, fellow photography enthusiasts! Today, we're diving into one of the most crucial aspects of photography: aperture. Whether you're a seasoned professional or a budding hobbyist, understanding aperture is fundamental to mastering your camera and capturing the perfect shot. So, let's explore what aperture is, how it works, and how you can use it to elevate your photography.

Mastering Firework Photography with Your DSLR: A Comprehensive Guide
Fireworks displays offer an incredible opportunity for photographers to capture vibrant, dynamic images. With a DSLR camera, you have the tools to take stunning firework photos. Here’s a step-by-step guide to help you make the most of these spectacular events.

Understanding ISO on Digital Cameras: A Beginner's Guide
If you're new to photography, you might have come across the term ISO and wondered what it means and how it affects your photos. ISO is one of the three pillars of photography, along with aperture and shutter speed, and it plays a crucial role in determining the exposure and quality of your images. In this beginner's guide, we'll break down what ISO is, how it works, and how you can use it to improve your photography.

Mastering the Rule of Thirds in Photography: A Guide for Stunning Compositions
Photography is an art, and like all art forms, it relies on certain principles to create visually appealing and impactful images. One of the most fundamental and widely used principles in photography is the Rule of Thirds. This simple yet powerful compositional guideline can transform your photos from ordinary to extraordinary. In this blog post, we’ll explore the Rule of Thirds, how to apply it, and why it works so well.

Capturing Summer: Essential Photography Tips for Your 2024 Beach Vacation
As the summer sun beckons and the ocean waves whisper your name, it’s time to pack your bags, head to the coast, and make memories that last a lifetime. Beach vacations are the perfect opportunity to snap stunning photos that capture the essence of relaxation, adventure, and natural beauty. Whether you're a seasoned photographer or a casual snapper, these tips will help you elevate your beach photography game in 2024.

Everything Happens for a Reason
Sometimes well laid out plans or excursions have hiccups that cause the best things to happen.
On Another World - Scott's Newest Print Releases Today
Today I'm happy to announce my newest landscape print, and it's really recent. Titled "On Another World", this shot was actually take last night during sunset along the Skyline Drive in the Shenandoah National Park.